Hello everyone
It’s very clear from the title of this topic that I’m going to show you How to Integrate Razorpay Payment Gateway in your app. There is no extension or any server file is required to host and use to make payments. We are going to use Razorpay Payment Link API to generate payment links and receive payments within the app.
The method is very simple and easy. In this, we are going to use
- Web Component: For make an API request to generating payment links
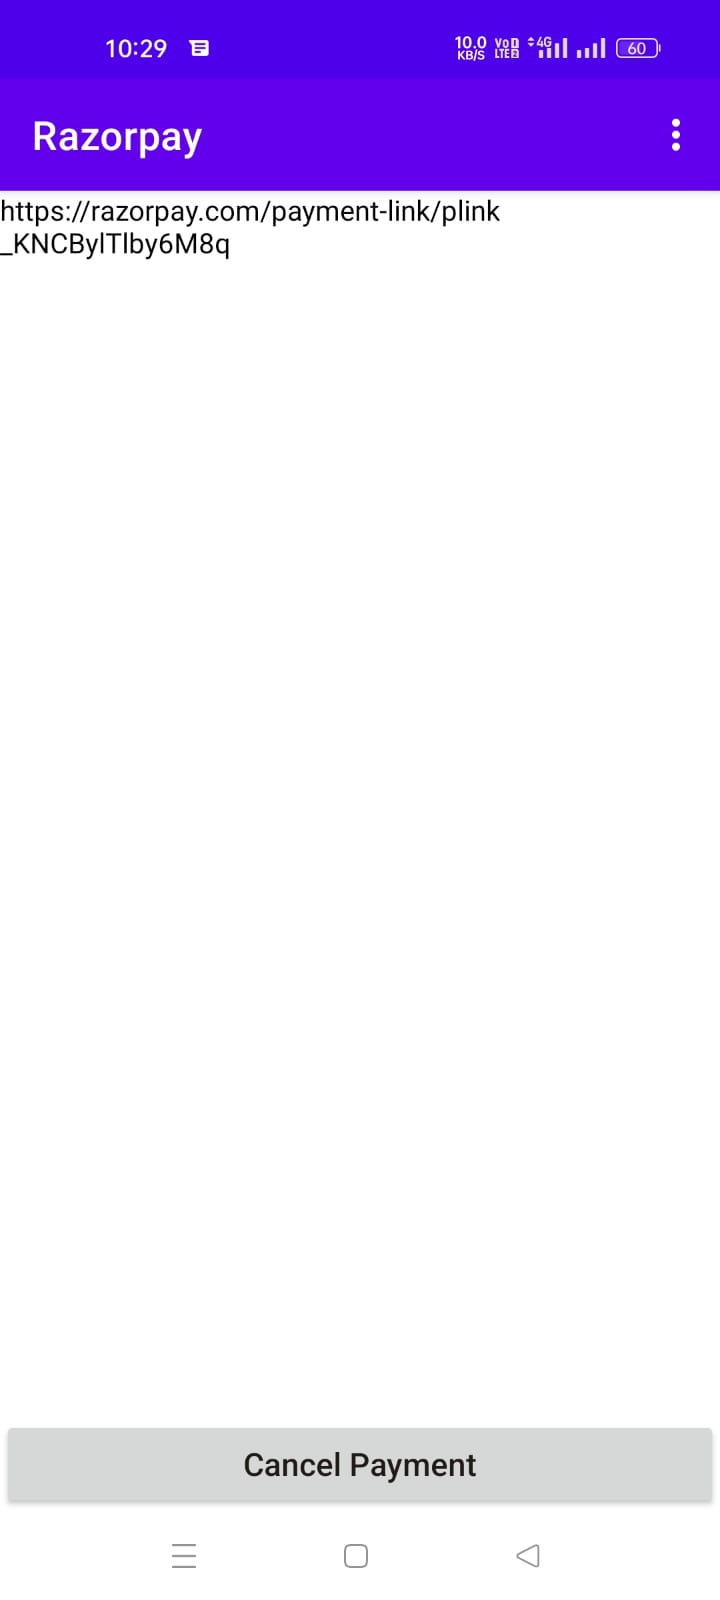
- WebView Component: To process the payment (for user interaction)
Why should I use this method?
Here are few important points which help you in finding the answer
- You don’t need any extension.
- No need for a hosting server to host any file.
- Simple and easy to integrate and use
- Safe & Secure
- You can also use an external browser instead of Webview.
- It’s 100% Free to use

let’s get started…
Get your KEY ID & KEY SECRET
Get your KEY ID & KEY SECRET from Razorpay Dashboard >Settings > API Keys. Click on generate/Regenerate Key button and get credentials from the popup.

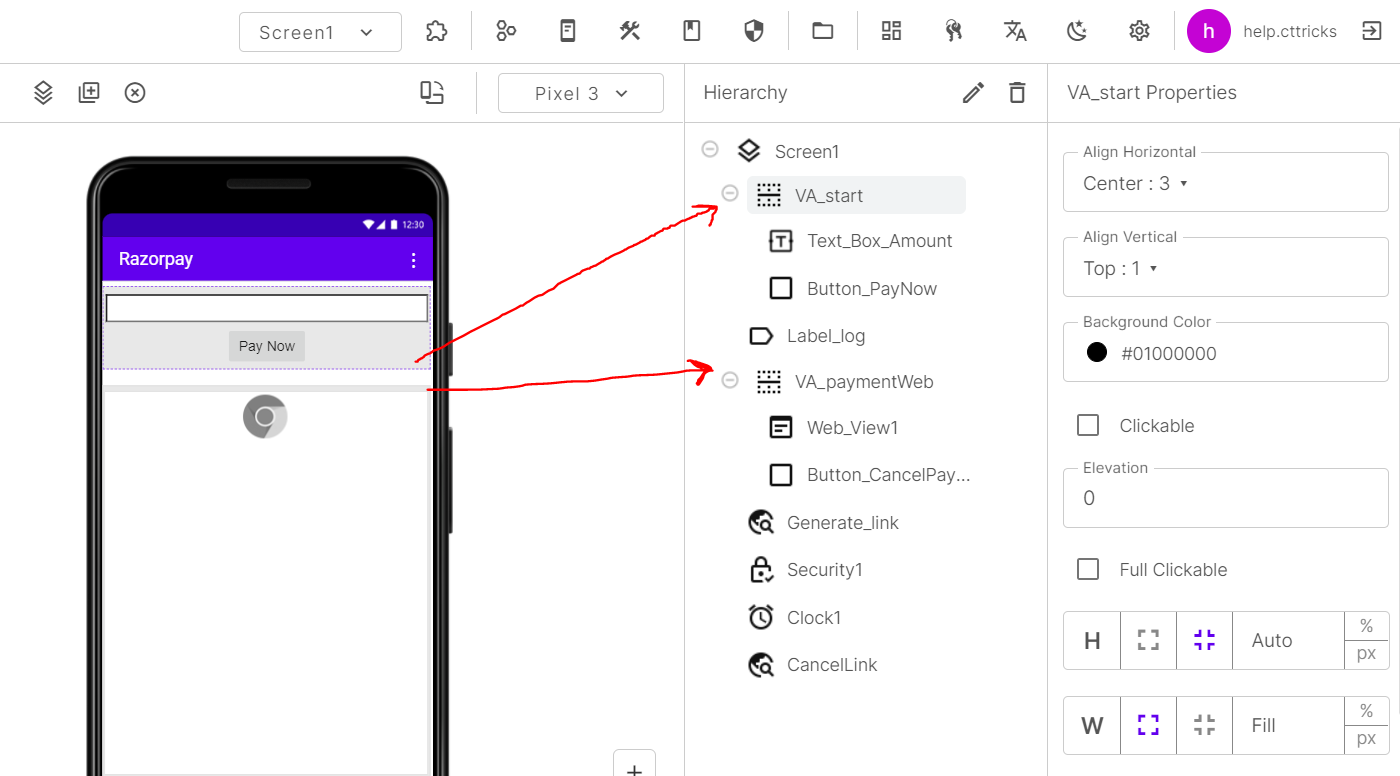
Designer Part
Open your project (builder.niotron.com or you can use this method on any AI2 builder). Please note that the Amount textbox input type is set to Number.
Blocks Part
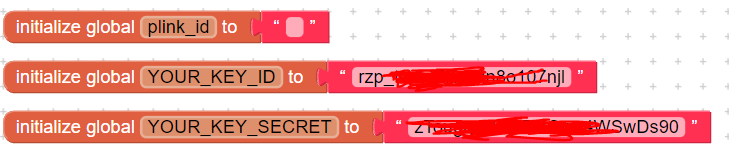
![]() Create 3 Global variables
Create 3 Global variables
- plink_id
- YOUR_KEY_ID
- YOUR_KEY_SECRET
![]() On Pay Now button click. We have to generate an
On Pay Now button click. We have to generate an Authorization token. All Razorpay APIs are authenticated using Basic Auth. It expects an Authorization header for each request in the Basic base64token format. Here, base64token is a base64 encoded string of YOUR_KEY_ID:YOUR_KEY_SECRET. Also, we need to provide Content-type along with Authorization in the header.

![]() The amount to be paid using the Payment Link is an integer value. Must be in the smallest unit of the currency. For example, if you want to receive a payment of ₹299.95, you must enter the value 29995, or if ₹10, you must enter the value 1000.
The amount to be paid using the Payment Link is an integer value. Must be in the smallest unit of the currency. For example, if you want to receive a payment of ₹299.95, you must enter the value 29995, or if ₹10, you must enter the value 1000.
In this example/demo, I’m just sending the required params to the API request for generating a payment link. Also, I am using https://example-callback-url.com/ as callback_url as after the payment is completed/failed/canceled Razorpay will redirect the user to this URL along with the response in query parameters.
https://example-callback-url.com/?razorpay_payment_id=pay_Fc8mUeDrEKf08Y&razorpay_payment_link_id=plink_Fc8lXILABzQL7M&razorpay_payment_link_reference_id=TSsd1989&razorpay_payment_link_status=paid&razorpay_signature=b0ea302006d9c3da504510c9be482a647d5196b265f5a82aeb272888dcbee70e
Which we’ll use later to check the payment status.

![]() After making the API request on
After making the API request on https://api.razorpay.com/v1/payment_links we’ll get a response in JSON format. We simply have to get the id and short_url from it and load this URL in the webview.
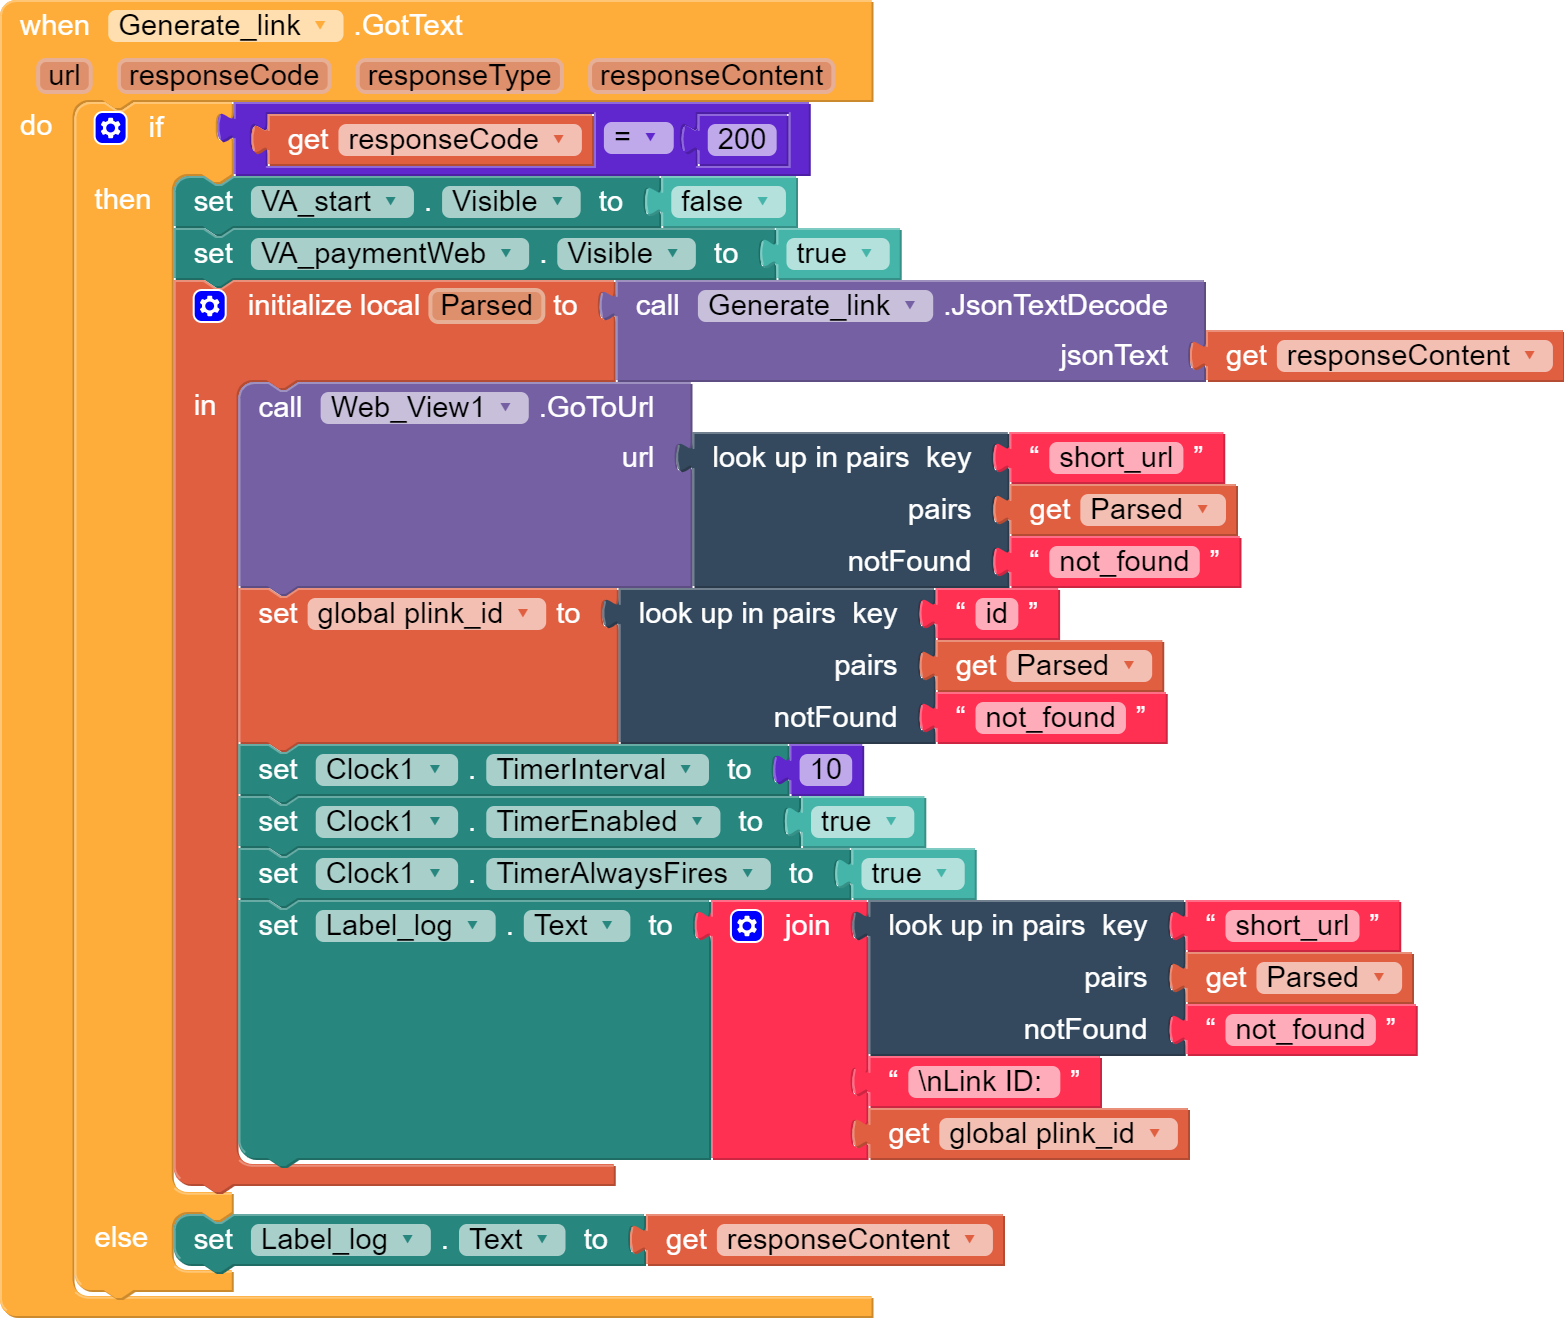
Here I’m also using the clock component to keep checking if Razorpay has redirected the user to the callback_url to display the status of the payment done by the user. Also, I’m storing the payment link id in the plink variable we created earlier for further processing.

A procedure is used to convert URL parameters to JSON. ( Extra blocks are used just to expand and explain clearly. You are free to construct and make it short )

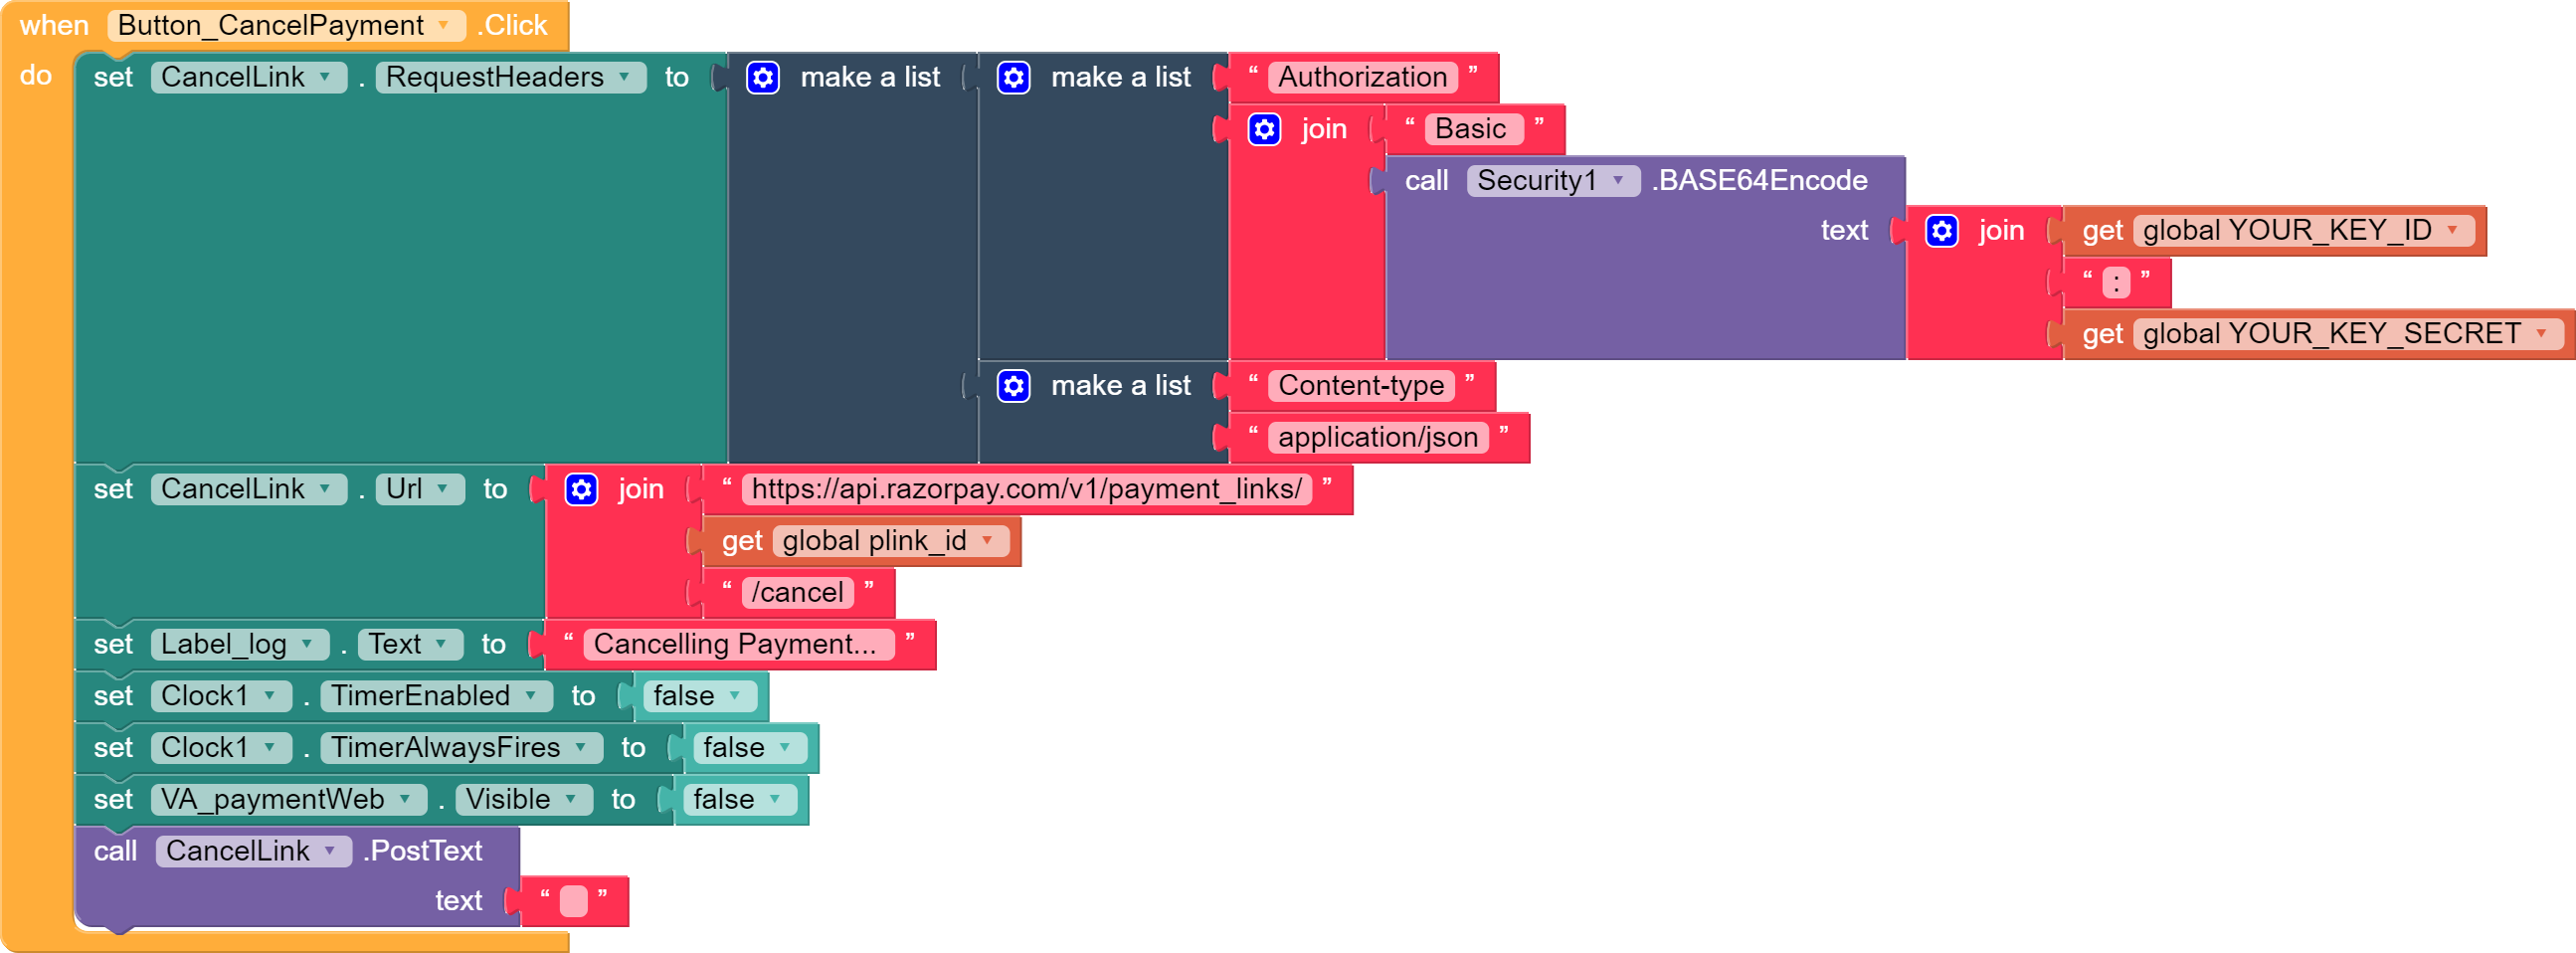
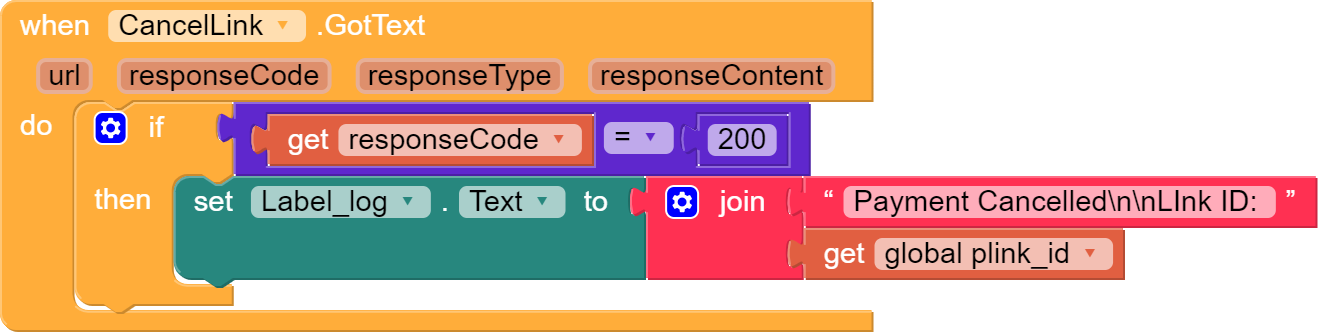
![]() Now, if the user clicks on the cancel payment button we can cancel the generated payment link. By making another API request on
Now, if the user clicks on the cancel payment button we can cancel the generated payment link. By making another API request on https://api.razorpay.com/v1/payment_links/{plink}/cancel
Demo AIA: Test01.aia (8.6 KB)
If you like this guide then do hit ![]() button and if you have any queries or suggestions feel free to comment below.
button and if you have any queries or suggestions feel free to comment below.